
To remove paint from kitchen cabinets, use a chemical paint stripper or sanding method. Apply the stripper, wait for the paint to loosen, and scrape it off gently.
Removing paint from kitchen cabinets can refresh your kitchen’s look or prepare surfaces for repainting. Tackling this DIY project requires caution, the right tools, and a methodical approach. By opting for a reliable paint stripper or sanding technique, homeowners can strip away old paint effectively.
It’s important to choose a method that is not only effective but also safe for the cabinet material. Whether you’re dealing with a vintage set of cabinets that needs to be restored to their former glory or updating your kitchen’s color scheme, removing paint is the first crucial step.
Ensuring proper ventilation and wearing protective gear are essential to carry out this task safely. With patience and attention to detail, you can achieve professional-looking results.
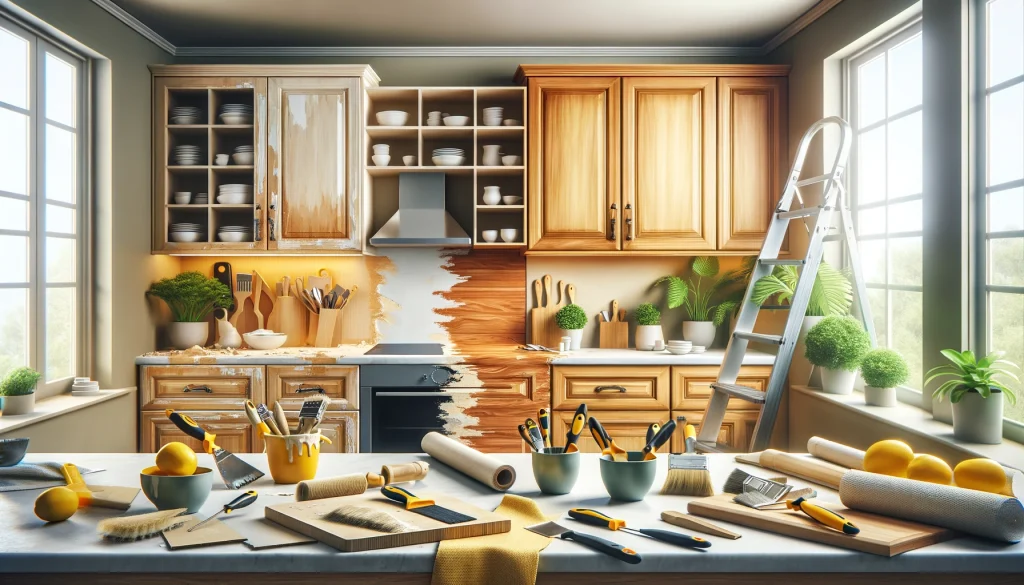
Introduction To A Paint-free Cabinet Project
Kitchen cabinets make a bold style statement. Over time, paint can chip or styles can fade. Redoing your cabinets can breathe new life into your kitchen. Whether looking for a modern feel or classic look, removing paint is the first step. This guide will walk you through the process, making your kitchen makeover exciting rather than daunting.
Why Transformation Is Worth It
- Better Aesthetics: Fresh cabinets can dramatically improve your kitchen’s look.
- Increase Home Value: Updated kitchens can boost your home’s market worth.
- Personal Satisfaction: A new space reflects your current taste and style.
Factors To Consider Before Starting
Preparation is key to a successful kitchen cabinet transformation. Consider these elements:
- Material: Know your cabinet’s material. It can dictate the removal method.
- Time: Set aside enough to complete your project without rushing.
- Tools: Gather the right tools like scrapers, sanders, and safety gear.
- Cleanup: Plan for paint and debris removal to keep your space clean.
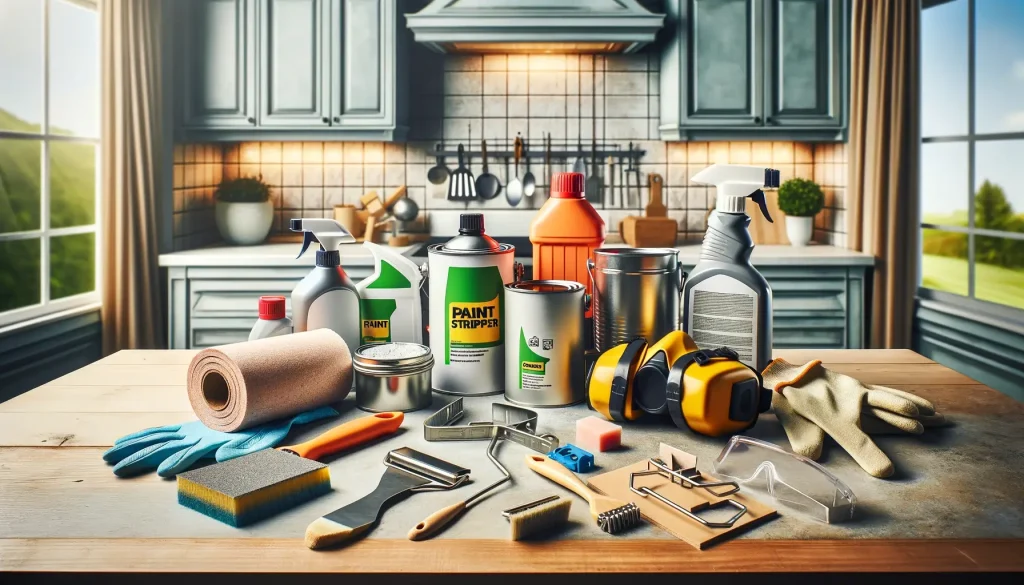
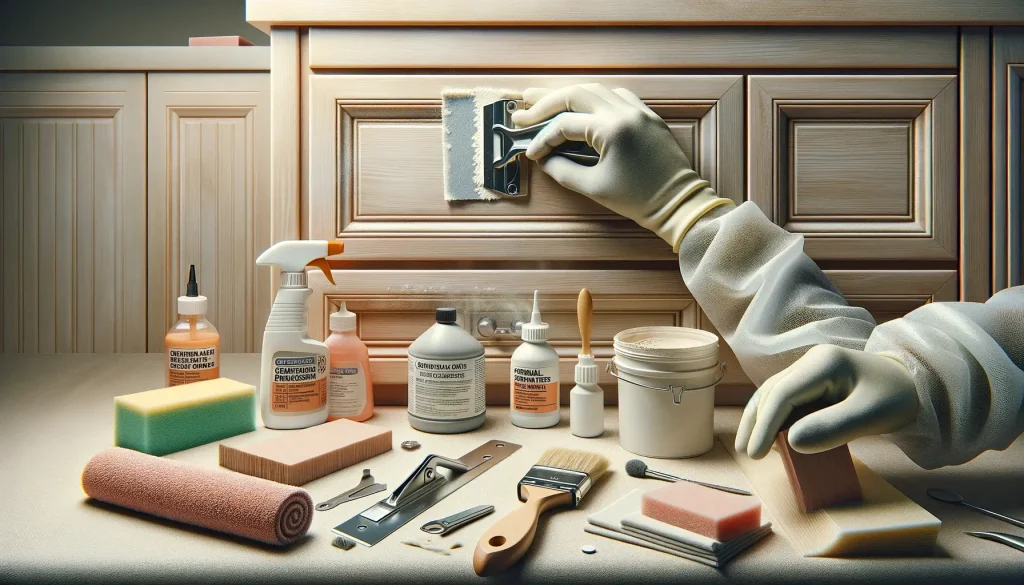
Choosing The Right Materials
Renovating your kitchen cabinets by removing old paint is a game-changer. But, the outcome greatly depends on the materials chosen for the job. Right materials mean safe removal, flawless finish, and long-lasting results. This segment guides you in choosing the safest and most effective options.
Selecting Safe Stripping Agents
Cabinet paint removal starts with the right stripping agent. Your focus should be on selecting a non-toxic and eco-friendly product. Products like soy-based gel strippers or citrus-based removers do the job without harmful fumes. Always check for labels indicating safety, such as “low-VOC” or “biodegradable.”
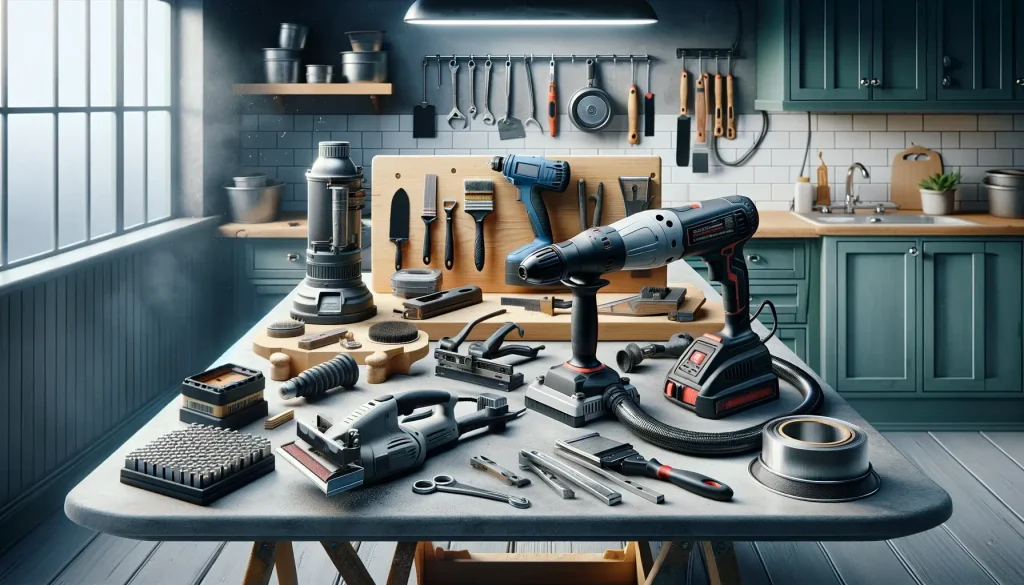
Tools Of The Trade
The right tools will make the paint removal process smoother and more efficient. Equip yourself with the following:
- Paint scraper: For removing peeling paint.
- Putty knife: Helps in applying and removing the stripper.
- Abrasive pads: Use after the stripper to clean off residue.
- Protective gear: Safety goggles, gloves, and masks are a must.
Quality brushes are also essential. They are used to apply the stripper evenly. For detailed areas, a small brush can reach into the nooks and crannies.
| Tool | Use |
|---|---|
| Paint Scraper | For peeling paint |
| Putty Knife | Applying/removing stripper |
| Abrasive Pads | Cleaning off residue |
| Protective Gear | Ensure safety during the process |
| Quality Brushes | Applying stripper |
Remember, investing in quality materials not only contributes to the ease of your project but also to the durability and appearance of your finishes. Make your cabinet makeover last for years with these wise choices.
Preparation Steps
Embarking on a DIY project to revitalize your kitchen space begins with the crucial preparation steps. Ensuring proper cleaning and protection of your area is essential in achieving professional results when removing paint from kitchen cabinets. Let’s walk through the fundamental actions needed to prepare for a smooth and efficient paint removal process.
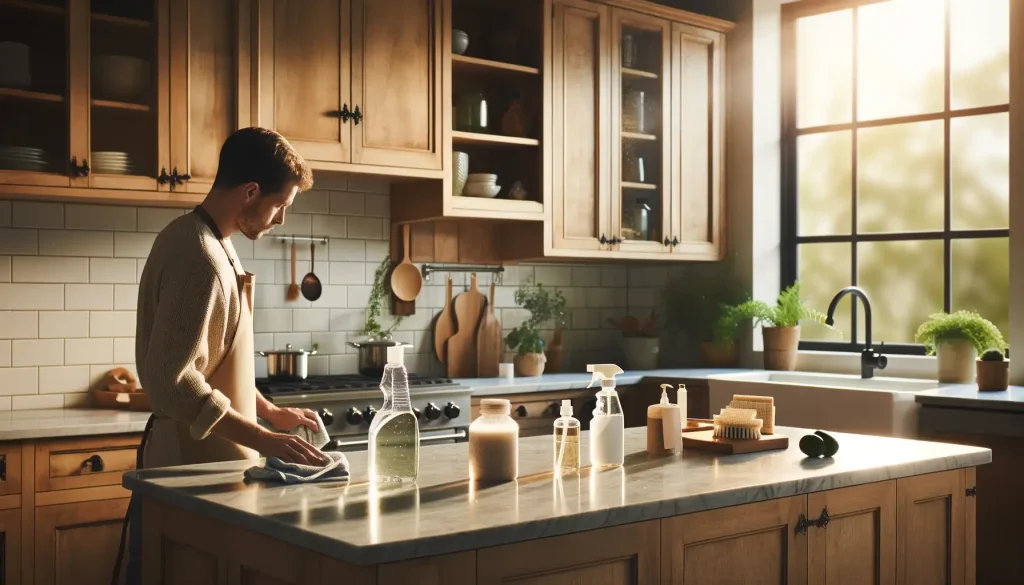
Cleaning Surfaces Thoroughly
Before you start stripping paint off your cabinets, a clean base is paramount . The process ensures that no debris, grease, or dust interferes with your work. Follow these steps:
- Empty cabinets and remove any hardware.
- Dilute mild dish soap in warm water .
- Use a sponge or cloth to wipe down surfaces.
- Reach all corners and edges for complete coverage.
- Allow surfaces to dry fully before progressing.
Protecting Your Kitchen Environment
Working within the kitchen means protecting surfaces and appliances. Implement these measures:
- Apply protective sheeting over countertops and floors.
- Use painter’s tape to shield adjacent walls and trim.
- Ensure proper ventilation by opening windows.
- Consider a mask and goggles for personal safety.
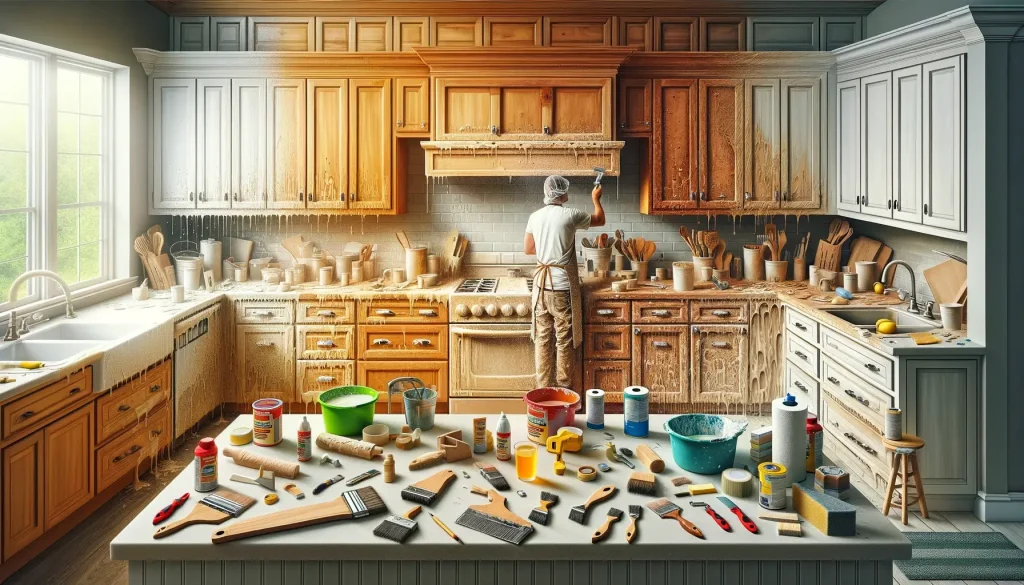
The Stripping Process
The Stripping Process is a critical step in breathing new life into your kitchen cabinets. This process involves removing the old layer of paint, revealing the natural wood beneath. Here’s how to tackle this DIY project with precision and care.
Applying The Chemical Stripper
Begin with a generous application of chemical stripper. Choose a product specifically designed for the paint type on your cabinets. Apply it evenly across the surface, following the manufacturer’s instructions. Ensure to cover every inch for consistent results.
- Spread the stripper with a paintbrush.
- Wait for the paint to bubble up.
- Use a scraper to gently peel away the paint.
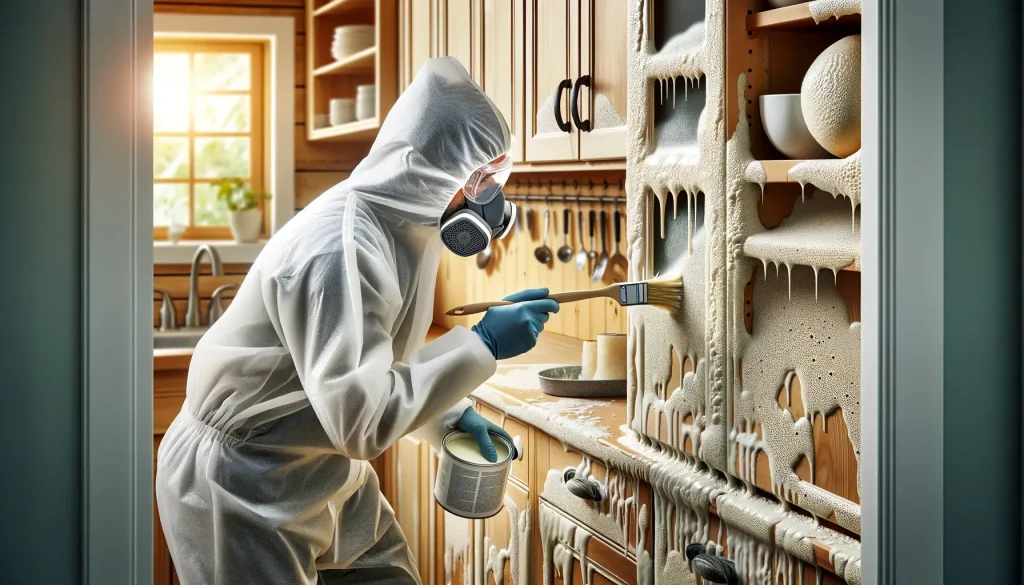
Safety During Paint Removal
Safety cannot be overstated during this process. Protect yourself and your kitchen from harmful chemicals with these steps:
| Equipment | Reason |
|---|---|
| Gloves | Shield skin from chemicals. |
| Goggles | Protect eyes from splashes. |
| Ventilation | Keep air fresh and clean. |
Additionally, work in small sections to maintain control over the chemical stripper and use drop cloths to catch drips and spills, preventing damage to countertops and floors.
Removing Paint Layers
Transforming your kitchen cabinets by removing old paint can reveal the original beauty of the wood beneath. This guide dives into the steps needed to strip away paint layers efficiently and safely. Ideal for a fresh repaint or varnishing, each method ensures a smooth, clean surface for your kitchen cabinets.
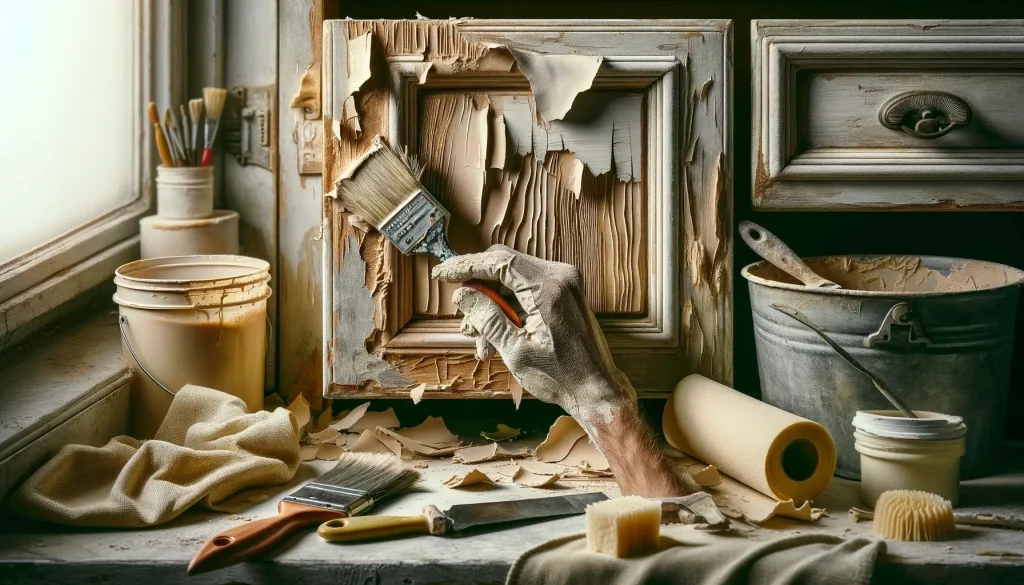
Peeling Off The Paint
Starting the paint removal process involves softening and lifting the existing layers. Applying a chemical paint stripper is often the most effective way. Spread the stripper evenly with a brush. Let it sit based on the manufacturer’s instructions, usually 15 to 30 minutes.
- Wear protective gloves and eyewear.
- Ensure proper ventilation in the kitchen.
- Use a plastic scraper to peel off the bubbling paint.
- Clean the wood surface with a damp cloth.
Dealing With Stubborn Spots
Some areas may resist initial efforts. Sanding is a powerful tool for these stubborn spots. Choose medium-grit sandpaper for the task. Sand in the direction of the wood grain to prevent scratches. Always wipe clean after sanding to remove dust.
| Type of Spot | Treatment |
|---|---|
| Light Residue | Use a fine steel wool soaked in paint thinner. |
| Thick Layers | Reapply chemical stripper and use a stripping tool. |
| Edges and Corners | Utilize a stripping gel for detailed work. |
Natural Alternatives For Stripping Paint
Are you ready to give your kitchen cabinets a fresh look? Stripping old paint doesn’t require harsh chemicals. Natural methods are safe and effective. Let’s explore some eco-friendly ways to strip paint from your cabinets.
Utilizing Heat And Steam
Heat guns and steam strippers are great for removing paint. They soften the paint without harsh chemicals. Always wear protective gloves and keep the heat source moving to prevent scorching the wood.
- Set up your workspace with good ventilation
- Test a small area first
- Use a heat gun to loosen the paint
- Scrape off the bubbled paint with a putty knife
Steam can also soften paint. Use a steamer over surfaces and then peel off the paint. Be careful with steam on wooden cabinets as too much can damage the wood.
Eco-friendly Homemade Solutions
Create your homemade paint remover. It’s safe and uses ingredients from your kitchen.

- Mix equal parts of vinegar and water.
- Heat the mixture until it’s warm.
- Apply the solution to the painted surfaces.
- Allow it to sit and penetrate the paint.
- Scrape the paint gently with a plastic scraper.
- Wash the wood with soapy water to remove residue.
| Ingredient | Quantity |
|---|---|
| Vinegar | 1 Part |
| Water | 1 Part |
Your cabinets will be free of old paint. They will be ready for a new coat. This method is gentle on the environment and your home.
Final Touches
Now that you’ve removed the paint from your kitchen cabinets, it’s time for the final touches. This stage will ensure that your cabinets look as good as new. The following steps will guide you through sanding and cleaning up, so your kitchen shines once again.
Sanding For Smoothness
After paint removal, a smooth finish is crucial. Begin with a medium-grit sandpaper to remove any remaining paint specks. Gradually transition to a fine-grit sandpaper for a silky finish. Always sand in the direction of the wood grain to prevent scratches. Here’s a quick guide:
- Start: Use 120-grit sandpaper.
- Progress: Move to 180-grit for refining.
- Finish: Use 220-grit for a smooth touch.
Remember to wipe the surface with a damp cloth after sanding. This removes dust and prepares for the final paint or finish.
The Cleanup: Restoring Your Kitchen Space
Sanding can create a mess, but cleaning up is simple. Make sure to:
- Vacuum all dust from the cabinets and kitchen surfaces.
- Wipe down counters, appliances, and floors.
- Clean the inside of your cabinets as well.
Once cleaned, replace any hardware you removed during the process. Align doors and drawers properly for a flawless appearance. Give the kitchen a final sweep, and admire your revitalized cabinets!
Finishing With Finesse
Peeling away old paint paves the path for a stunning kitchen transformation.
Mastering the methods for removing paint from kitchen cabinets is just part of the journey.
The real magic happens in the ‘Finishing with Finesse’.
This crucial step determines the longevity and appearance of your kitchen cabinets. Let’s dive into how to select your new finish and apply it like a pro!
Choosing A New Paint Or Finish
Selecting the right paint or finish is vital for durable and attractive kitchen cabinets. Consider these points:
- Match the kitchen’s style: Contemporary or classic? The finish should complement the room.
- Think practical: High-traffic kitchens need easy-to-clean, durable paints or finishes.
- Set the right mood: Light colors for an airy feel, dark hues for a cozy ambiance.
For best results, prefer paint labeled ‘cabinet-grade’. These products are formulated to adhere well and withstand wear.
Application Tips For A Professional Look
Applying the chosen finish with precision is key for a professional-grade outcome. Ensure quality results with these tips:
- Prepare the surface: Sand lightly for smoothness. Remove all dust.
- Prime: Use a high-quality primer for better paint adhesion.
- Method matters: Spray, roll, or brush? Each technique gives a different texture.
Employ a systematic approach: work from top to bottom, painting in sections. Allow adequate drying time between coats.
Maintenance And Care
Maintenance and care are critical after removing paint from kitchen cabinets. Proper steps ensure cabinets stay pristine longer. Let’s focus on keeping those freshly cleaned cabinets looking their best day after day.
Preserving Your Cabinets’ New Look
Once your kitchen cabinets are paint-free, safeguarding the natural beauty of the wood is essential. Use a light coat of quality wood polish every six months to protect the surface. Avoid harsh chemicals that can damage the wood.
- Climate Control: Maintain consistent humidity to prevent wood warping. Keep cabinets away from direct sunlight to avoid discoloration.
- Immediate Attention to Spills: Blot spills quickly with a soft, dry cloth to prevent staining.
- Use Protective Mats: Place mats under small appliances to prevent scratches and moisture damage.
Routine Cleaning And Upkeep
Regular cleaning extends cabinet life and appearance. A weekly wipe-down with a damp cloth works wonders. Every few months, use a wood cleaner to deep-clean and nourish the wood.
| Frequency | Action |
|---|---|
| Daily | Wipe surfaces with a soft cloth. |
| Weekly | Clean with a damp cloth and mild soap. |
| Bi-Monthly | Deep clean with wood cleaner. |
Remember: Always dry cabinets after cleaning to prevent water marks. Avoid abrasive pads that can scratch surfaces. With steady care, your cabinets will continue to beautify your kitchen for years!
Troubleshooting Common Issues
Even the most careful DIY enthusiasts can run into issues when removing paint from kitchen cabinets. This section will guide you through common problems and help you fix them quickly and effectively.
Addressing Paint Spill Accidents
A paint spill can be a shock, but fast action is key to minimizing damage. The right approach depends on the paint type and the surface affected.
- Wet paint: Gently blot, don’t rub, with a cloth soaked in warm, soapy water.
- Dry paint: Scrape carefully with a putty knife, then apply a solvent.
- Oil-based paint: A cloth and mineral spirits can help lift the stain.
- Latex paint: Water and a gentle scrubbing tool are usually sufficient.
Always test cleaners on a hidden cabinet spot first to avoid further damage.
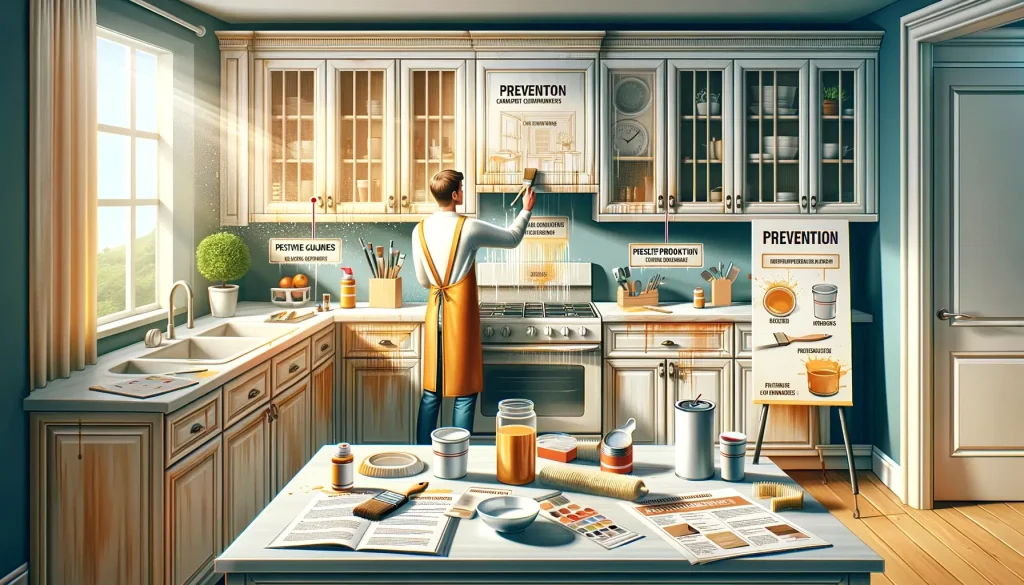
Preventing Future Paint Challenges
Mistakes happen, but the right habits can keep your cabinets safe from paint mishaps in the future.
| Prevention Tip | How It Helps |
|---|---|
| Use drop cloths and painter’s tape | Shields surrounding areas from drips and spills |
| Remove cabinet doors and hardware | Makes painting easier and reduces accidental smudges |
| Carry out spot tests with cleaners | Ensures the chosen cleaner won’t damage your cabinets |
| Apply a protective finish | Creates a barrier against future spills and stains |
Adopting these practices keeps your kitchen cabinets vibrant, clean, and free from unwanted paint.
Conclusion
Restoring the original luster of your kitchen cabinets doesn’t have to be daunting. With the right tools and techniques, those unwanted layers of paint can be a thing of the past. Remember, patience is key and safety comes first. So take your time, follow the steps outlined, and soon your cabinets will be paint-free and looking fabulous.
Happy refinishing!
Frequently Asked Questions For How To Remove Paint From Kitchen Cabinets
What's The Best Way To Strip Paint From Cabinets?
The most effective method to strip paint is by using a chemical paint stripper. Apply it following the instructions on the label, and then gently scrape away the softened paint, taking care not to damage the wood underneath.
Can I Remove Paint Without Chemicals?
Yes, you can remove paint without harsh chemicals by using heat guns or sanding. However, it's important to take appropriate safety precautions, such as wearing a mask, to avoid inhaling fumes or dust.
What Safety Gear Do I Need For Paint Removal?
For safe paint removal, wear protective gloves, safety goggles, and a respirator mask. Ensure the room is well-ventilated to minimize inhalation of fumes or dust particles during the process.
How Long Does Paint Stripping Take?
The duration for stripping paint varies with method and paint type, but it generally takes a few hours. Chemical strippers usually require the paint to soften before removal, while sanding or heating can be more immediate.
More blogs like Kitchen Cabinets
How to Remove Kitchen Cabinets?
How Long Does It Take to Install Kitchen Cabinets?
How Long Does It Take to Paint Kitchen Cabinets?
What Color Should I Paint My Kitchen Cabinets?